15 Jun

| Artist | James Busby |
| Website | Artstation / Instagram / Facebook |
| Scan used | HD Male 3D Head Model 34 / Man Bun Hair |
Introduction
In this tutorial, I will demonstrate the procedure for transferring our real-time hair models onto any of our high-definition (HD) or standard-definition (SD) head scans. This method necessitates the use of Wrap 3. The technique outlined here is applicable to any head model generated using either our head base mesh or one of our scans.
Step 1
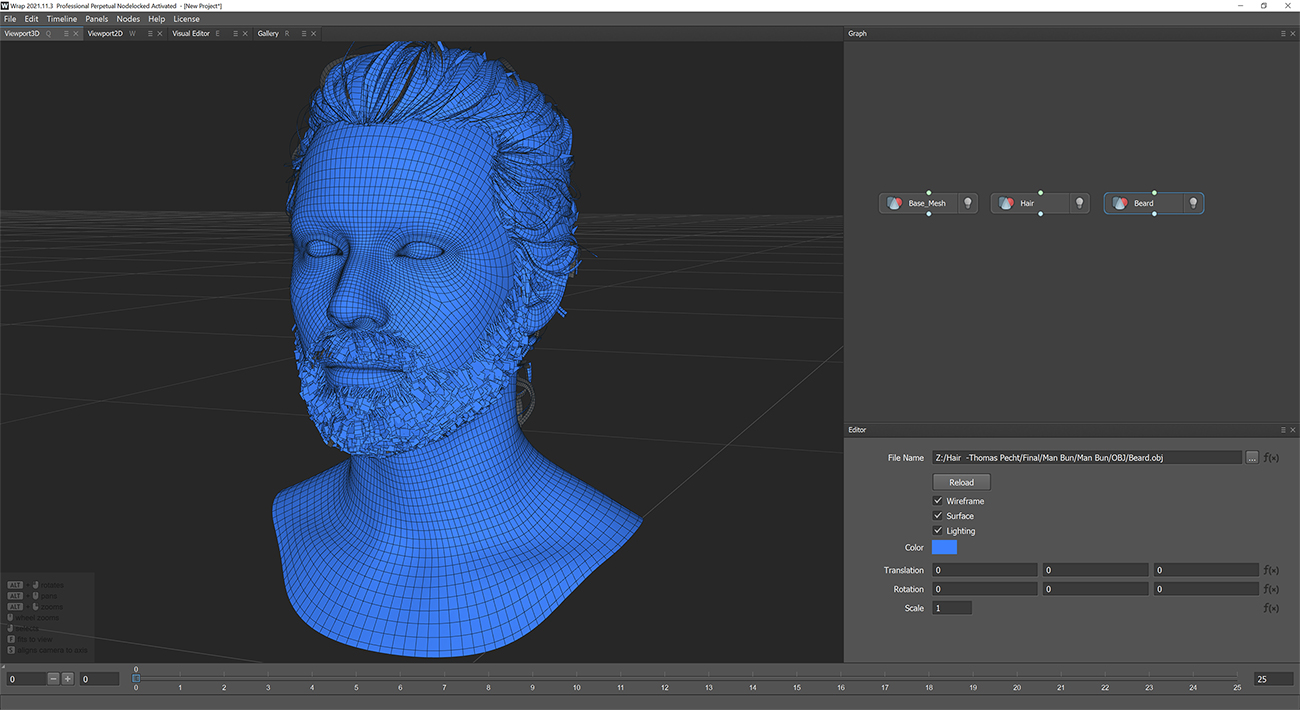
Okay, let's dive in! Load up the base mesh and the hair models from any of the scan store's real-time hair products into Wrap 3 using the geometry nodes. For this example, I've picked the trendy Man bun hairstyle that even comes with its own beard mesh. I'll guide you through the process of transferring both effortlessly. Let's get cracking!
Step 2
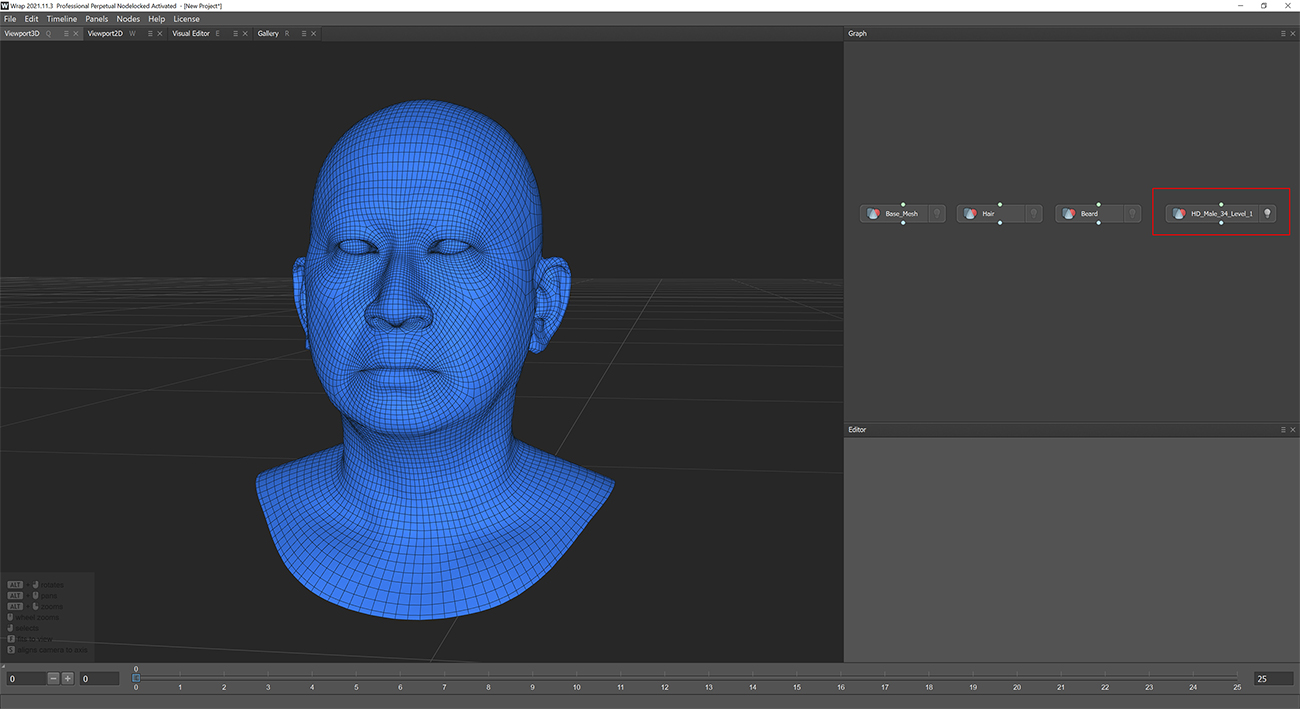
To begin, load the subdivision level 1 model from any of the available HD or SD head scans. For the purpose of this example, we will be using the HD Male 34 scan.
Step 3
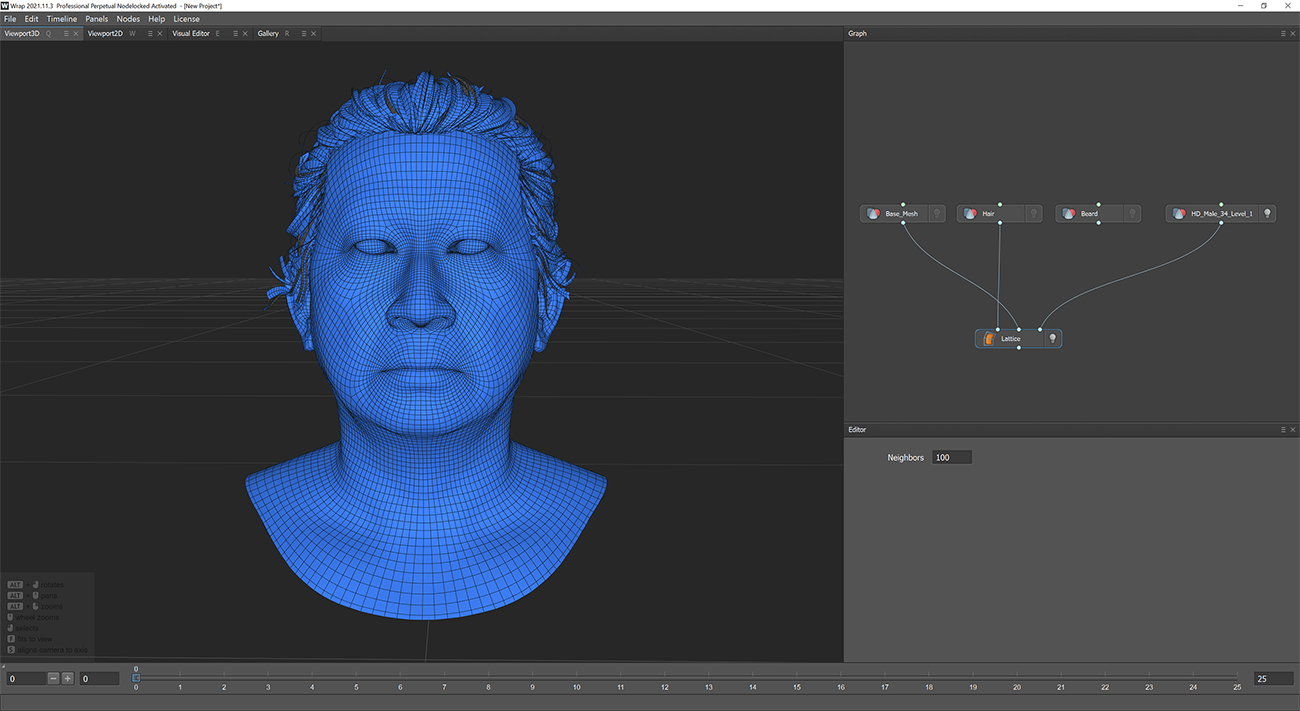
Now, let's set up the "Lattice" node in Wrap 3 and connect the mesh nodes as depicted in the image below. Make sure to adjust the number of neighbours to 100. We'll start by transferring the hair mesh and then repeat the same steps for the beard.
Step 4
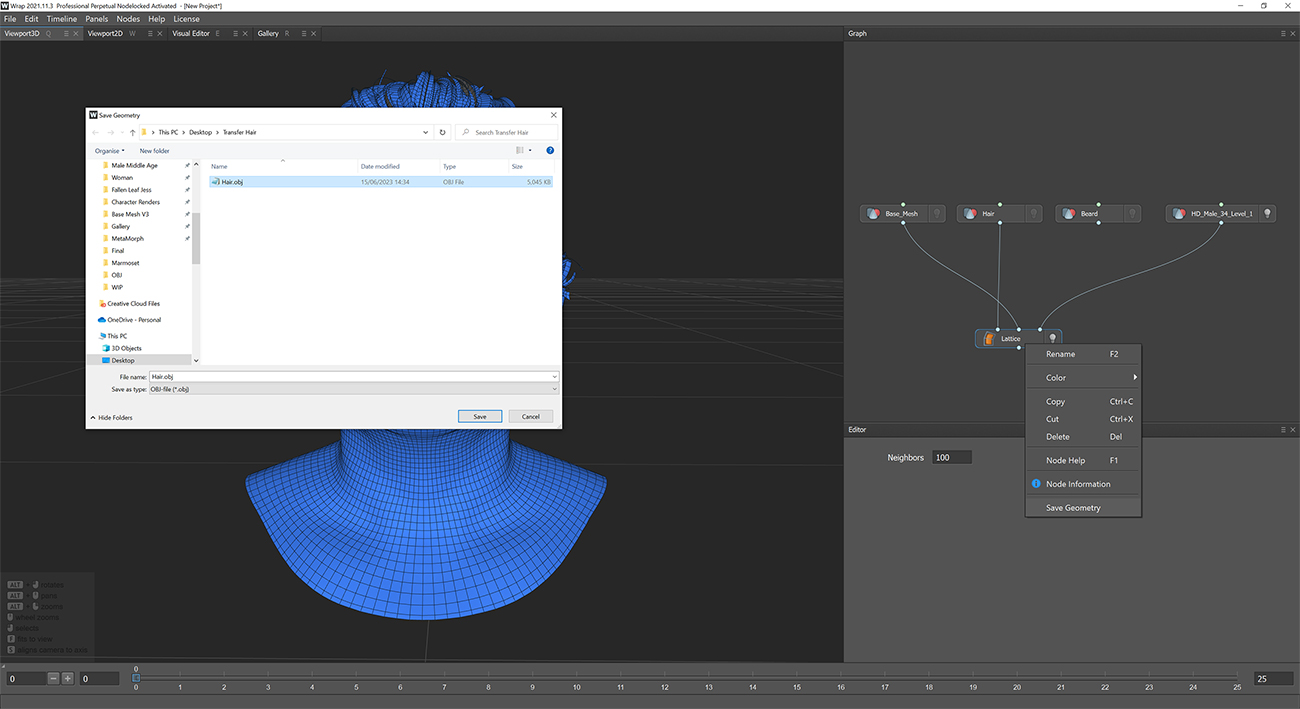
Voila! You will now observe the flawless alignment of the hair mesh onto the HD head scan. Simply right-click on the lattice node and proceed to save the hair as an .OBJ file.
Step 4a
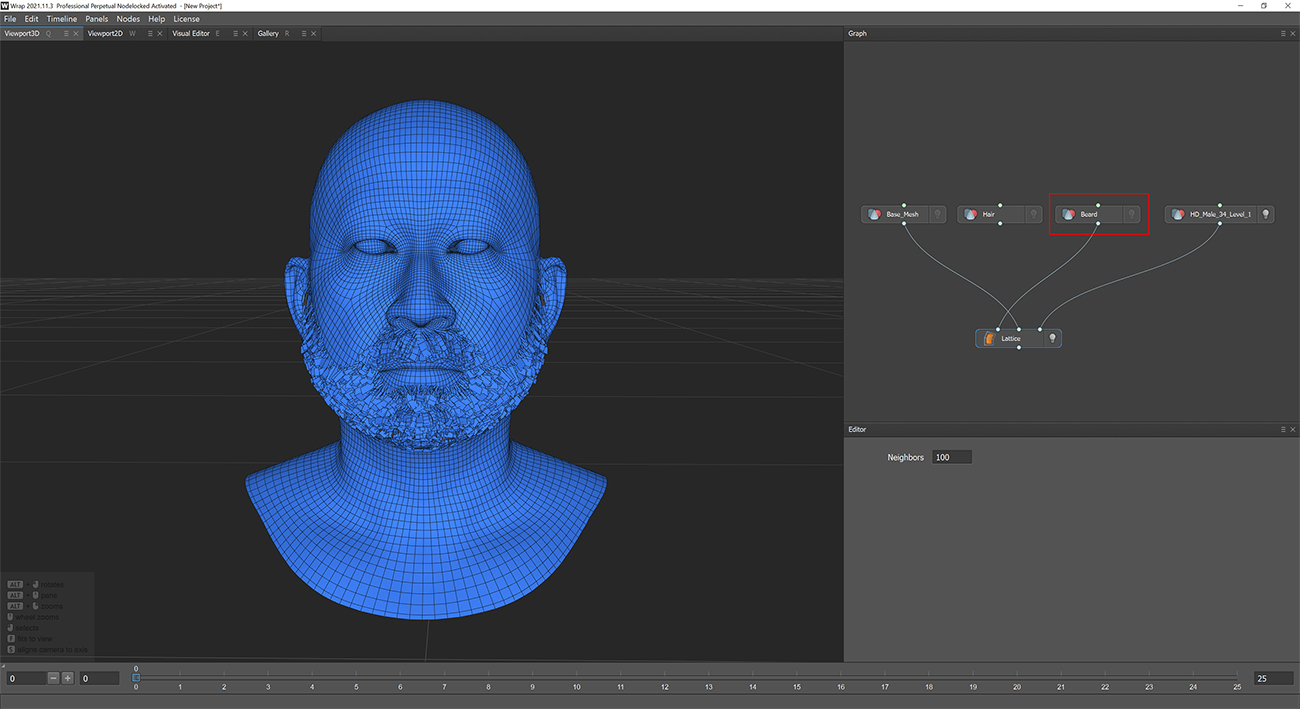
Now, let's repeat the exact same process with the beard mesh. Just swap the "Hair" node with the "Beard" node, as demonstrated below. Once done, simply right-click and export the beard model as a .obj file, following the same procedure we used for the hair.obj file.
Step 5
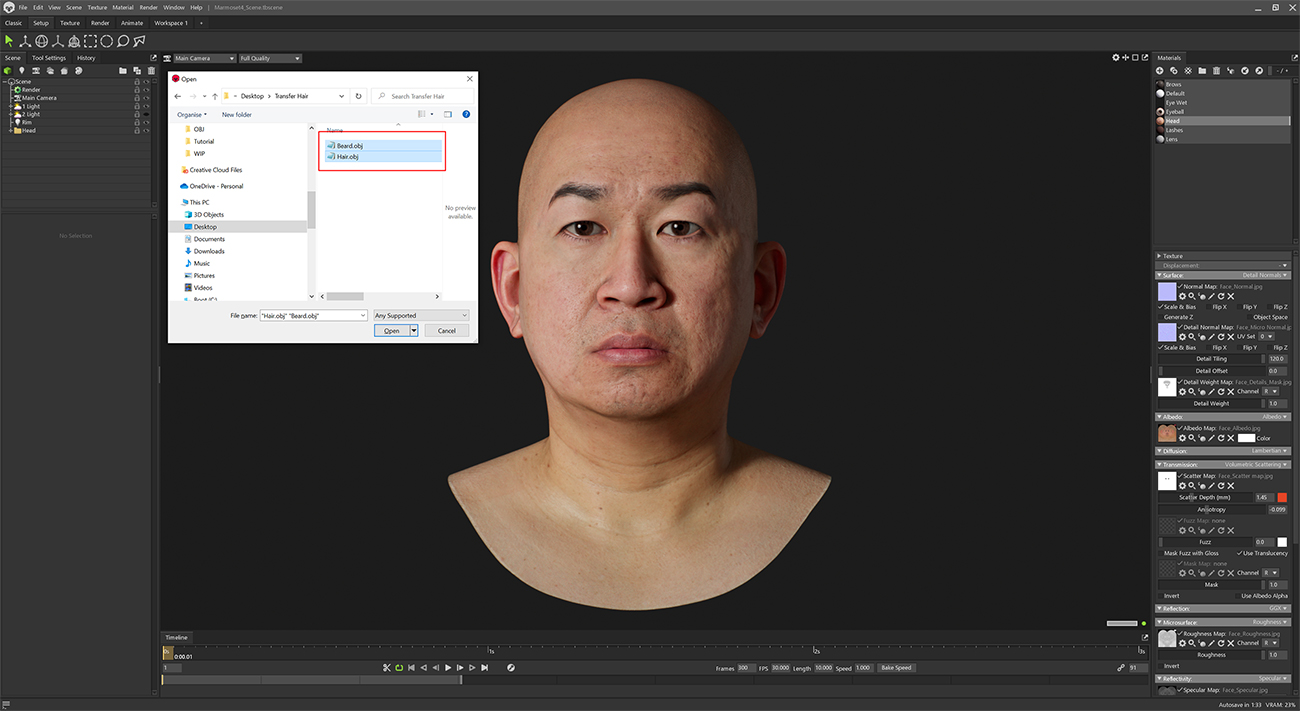
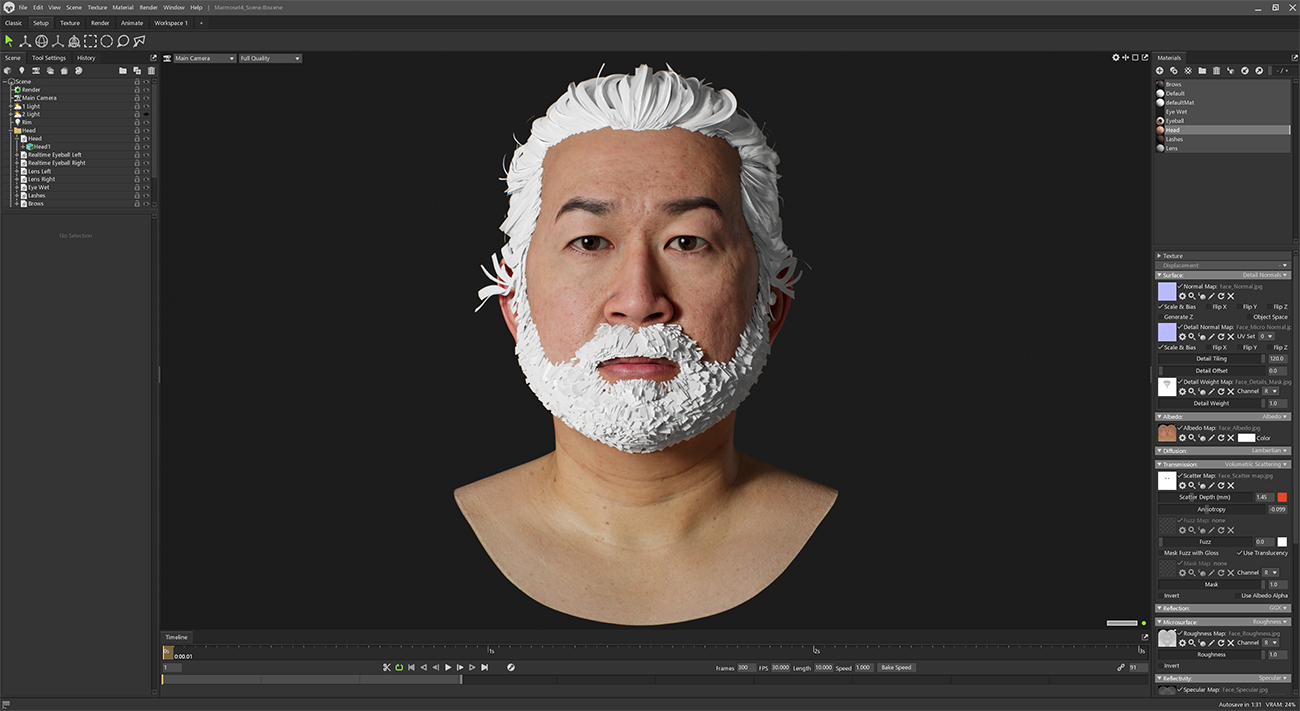
Now, let's take a moment to appreciate the HD head scan with its fresh new hair and beard! For this step, we will utilize the provided Marmoset Toolbag render scene, which comes bundled with all the HD head scans. Simply load the scene and import the recently acquired hair and beard models. Sit back and enjoy the stunning render!
You will have something that looks like the image below.
Step 6
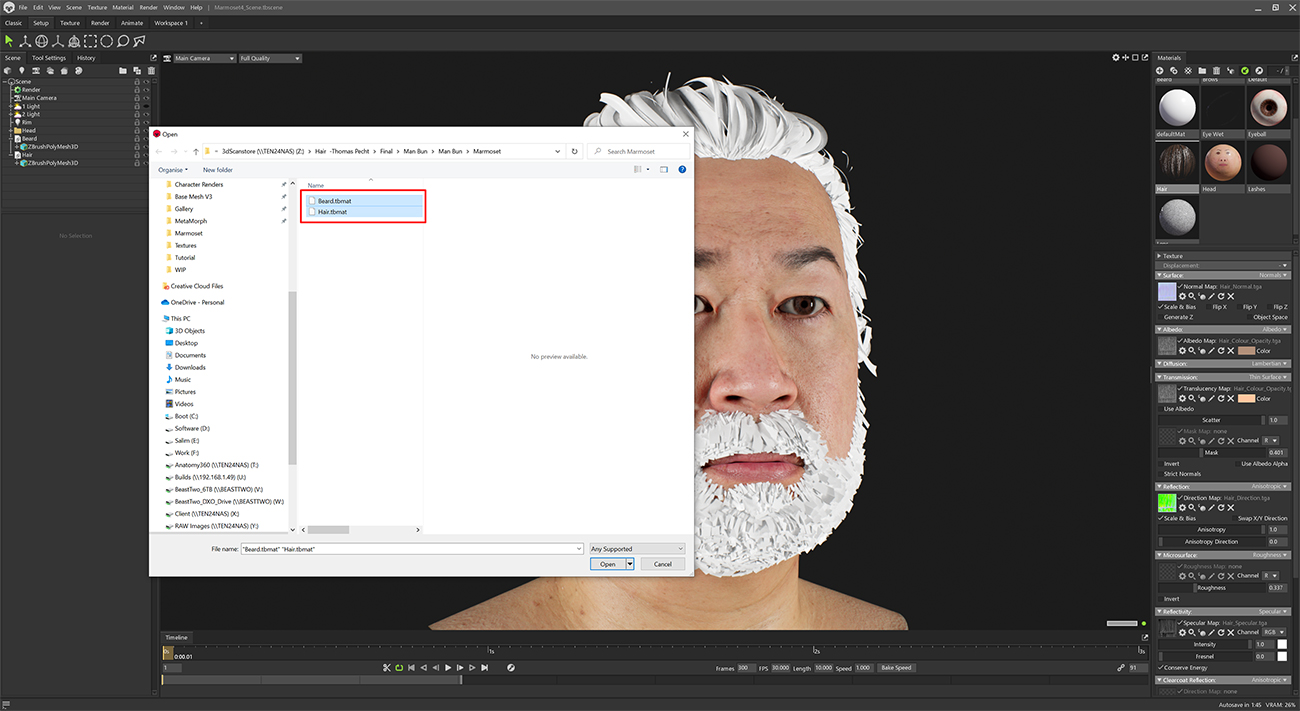
To complete the process, let's apply the appropriate shaders to both the hair and beard. Simply navigate to the Marmoset folder and load the shaders designed specifically for these elements
Step 7
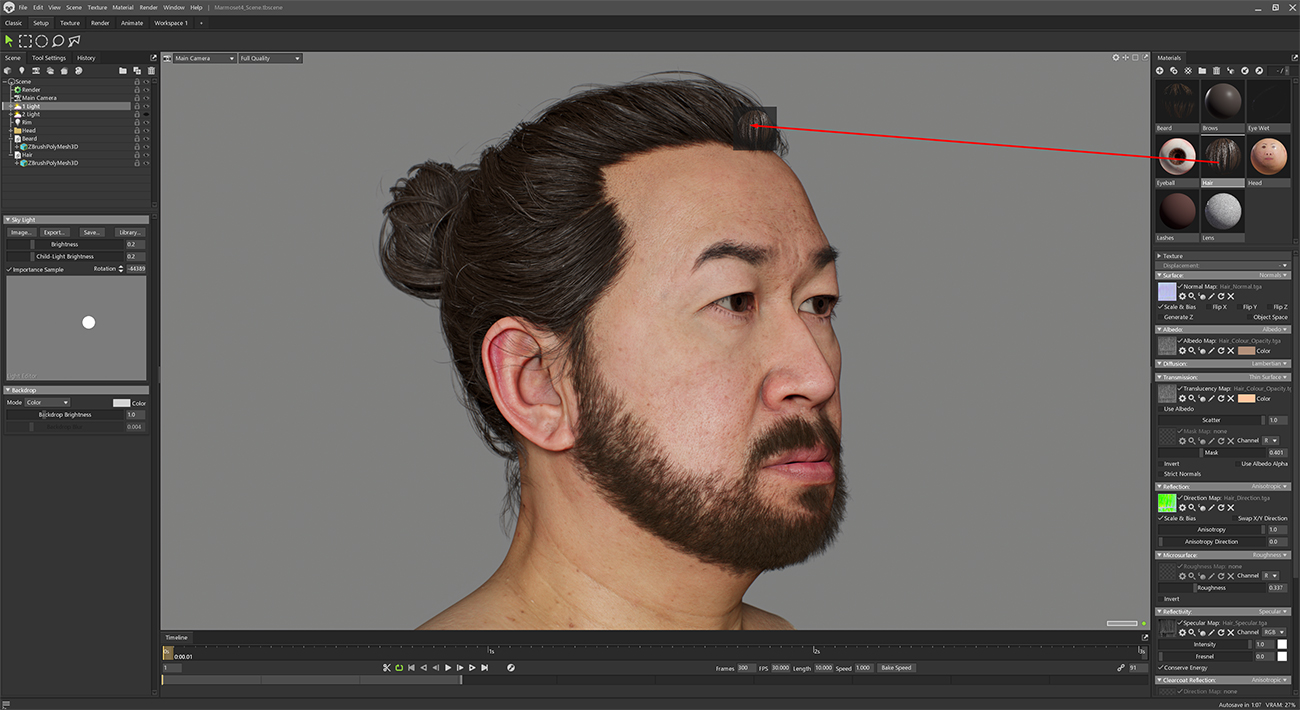
Drag the shader from the material window onto the mesh.
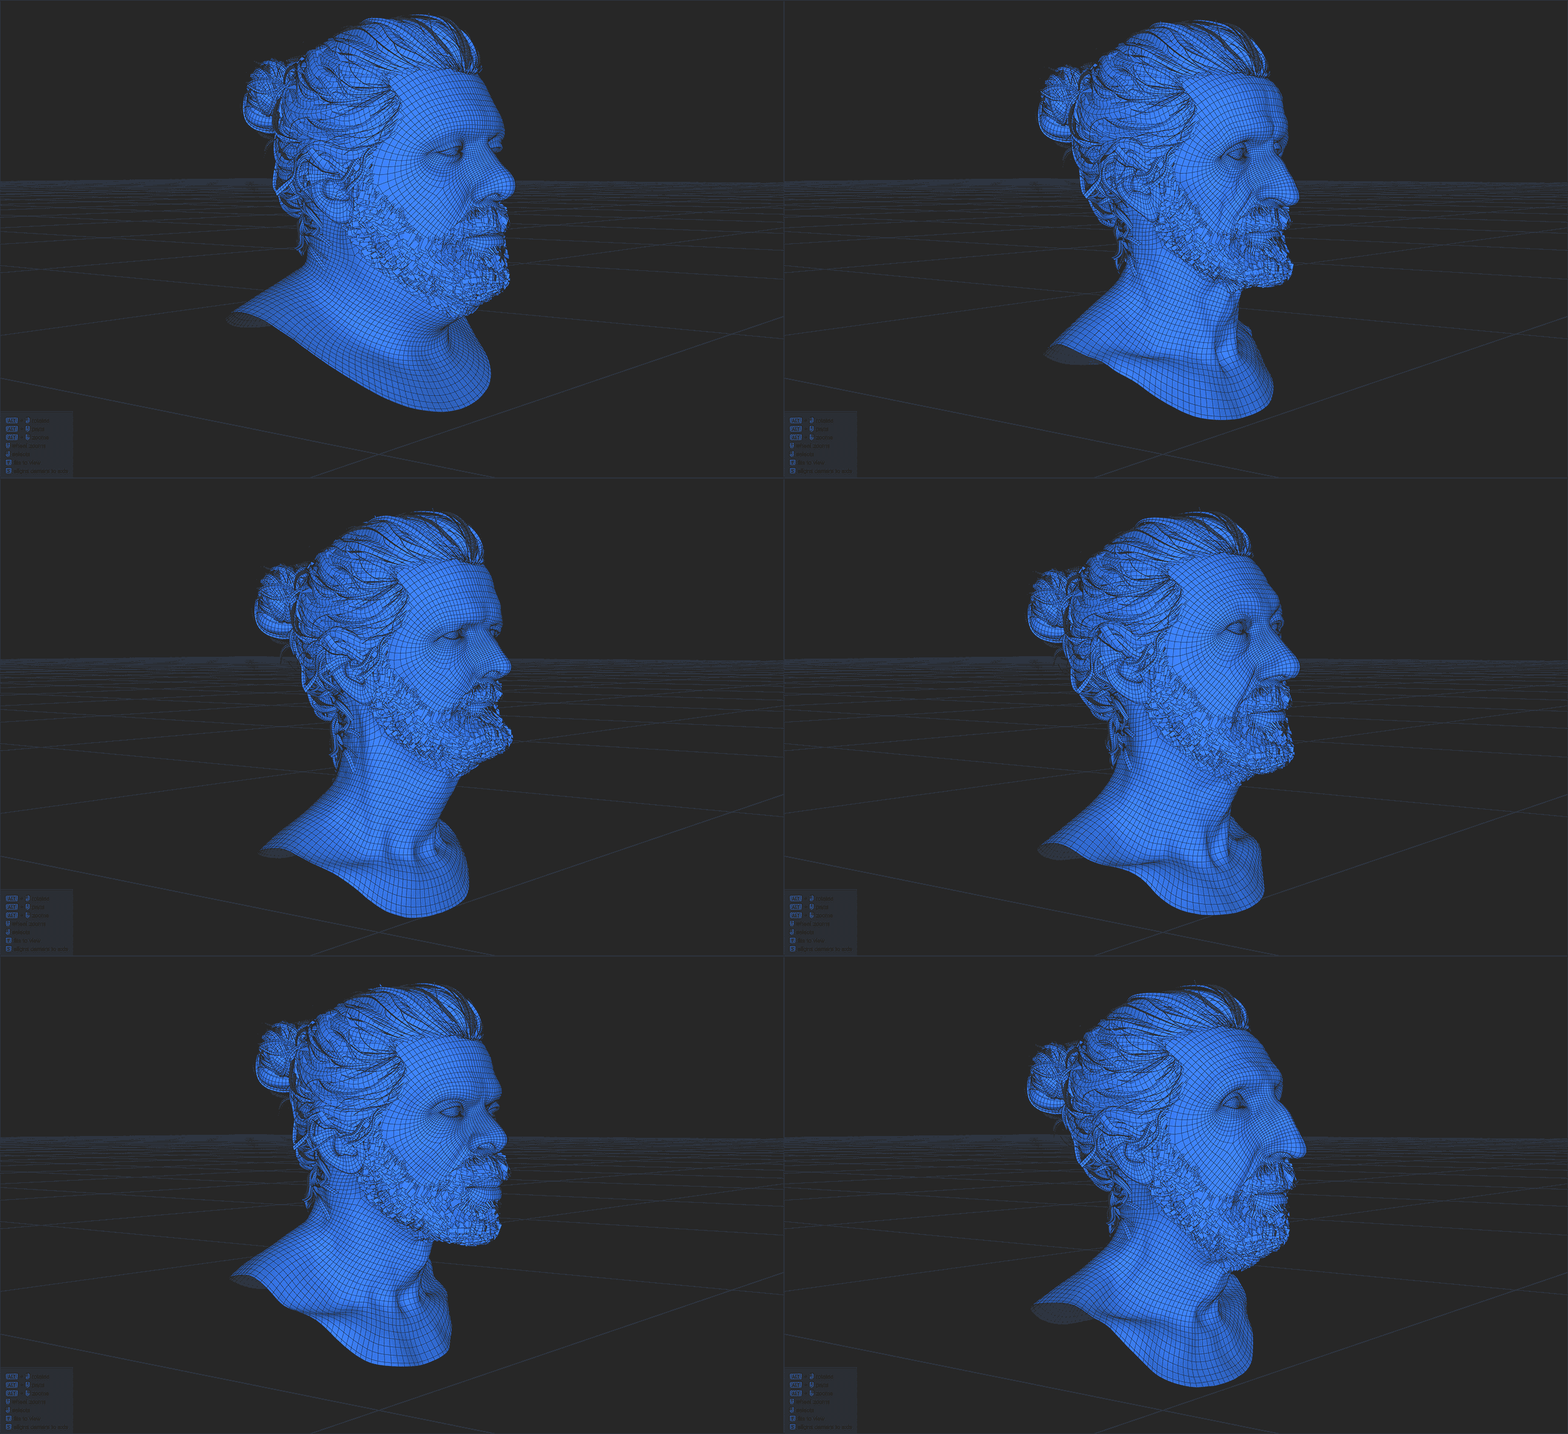
Congratulations! You've successfully textured and fitted the hair onto your HD head scan. This technique can be applied to any HD or SD head scan or any model derived from them, utilizing our retopologised head meshes. The versatility of this approach allows for seamless integration of hair onto any of our scans as shown in the gif below.
